Python Essentials

Understanding the core components of Python and its libraries is crucial for building effective projects.
This section focuses on the key aspects of the Python programming language and its extensive libraries that are essential for developing robust coding skills and creating impactful projects.
Understanding Python Programming Language
Python is a versatile language, popular for its readability and easy syntax. It enables developers to write less code to perform tasks than other programming languages like C++ or Java.
This simplicity makes it ideal for beginners and experienced programmers alike.
One of Python’s strengths is its support for many programming paradigms, including object-oriented, imperative, and functional programming. This flexibility allows programmers to choose the most efficient approach for each project.
Python’s rich set of data types, such as lists and dictionaries, also contribute to its wide applications in data manipulation and analysis.
Its extensive standard library provides modules and functions for handling system operations, network communications, and file I/O, which makes Python a powerful tool for developing a wide range of applications.
These features have made Python a top choice for web development, scientific computing, artificial intelligence, and more.
Python Libraries Overview
Python’s vast collection of libraries is a key reason for its widespread use in various fields.
Libraries like NumPy and Pandas offer robust tools for numerical computations and data analysis. These libraries simplify complex tasks, enabling developers to implement solutions quickly and effectively.
For web development, frameworks such as Django and Flask provide built-in functionality for creating dynamic web applications. They streamline tasks like URL routing and template rendering, allowing developers to focus on application logic.
Libraries such as TensorFlow and PyTorch are essential for machine learning and artificial intelligence projects. These frameworks provide pre-built models and algorithms to accelerate the development process.
By leveraging these libraries, developers can enhance their projects and improve their coding skills as they apply Python to a multitude of programming tasks.
Setting Up the Development Environment

To start building Python-based portfolio projects, setting up a development environment is essential. This involves installing tools like Jupyter Notebook and managing Python libraries effectively to streamline coding and testing.
Working with Jupyter Notebook
Jupyter Notebook is a powerful tool for coding in Python. It supports interactive data visualization, making it popular among data scientists.
First, install Jupyter using the command pip install jupyter. This setup allows for creating and sharing live code with visualizations and narrative text.
Organizing your code into cells in Jupyter helps in running segments independently. This feature is critical for testing and debugging.
Additionally, leverage Python libraries such as NumPy, Pandas, and Matplotlib, which integrate seamlessly with Jupyter. These libraries provide functions for numerical calculations and data visualization.
Web Development with Python
Python is widely used in web development due to its versatility and simplicity. Two popular frameworks, Django and Flask, enable developers to create dynamic websites. Building a portfolio website with Python can also showcase programming skills effectively.
Developing Dynamic Websites with Django and Flask
Django is a high-level Python web framework that encourages rapid development and clean, pragmatic design. It offers an admin panel, built-in authentication, and tools to manage databases. Developers can create scalable applications quickly with its numerous features.
Flask is a micro-framework that is lightweight and flexible, allowing for more control but requiring more setup. It is ideal for smaller projects or applications where customization is key. Flask provides essentials like routing and template engines, making it a preferred choice for developers who appreciate simplicity and flexibility.
Both Django and Flask support the development of dynamic, interactive websites. They integrate well with databases and support HTML, CSS, and JavaScript, providing comprehensive solutions for web applications.
Building a Portfolio Website
A portfolio website is an excellent way for developers to showcase their skills and projects.
Python, with frameworks like Django and Flask, can be used to build engaging and personalized sites that reflect an individual’s talents.
Using Django, developers can leverage its ORM (Object-Relational Mapping) to handle databases smoothly, allowing for features like project galleries and contact forms that are easy to implement and manage.
With Flask, developers can design custom layouts that are unique and tailored to their style.
A well-designed portfolio can include sections for coding projects, a blog, and contact information. Python’s integration with tools like Bootstrap for responsive design ensures the website looks professional across devices. This approach not only highlights technical skills but also demonstrates an ability to create appealing web experiences.
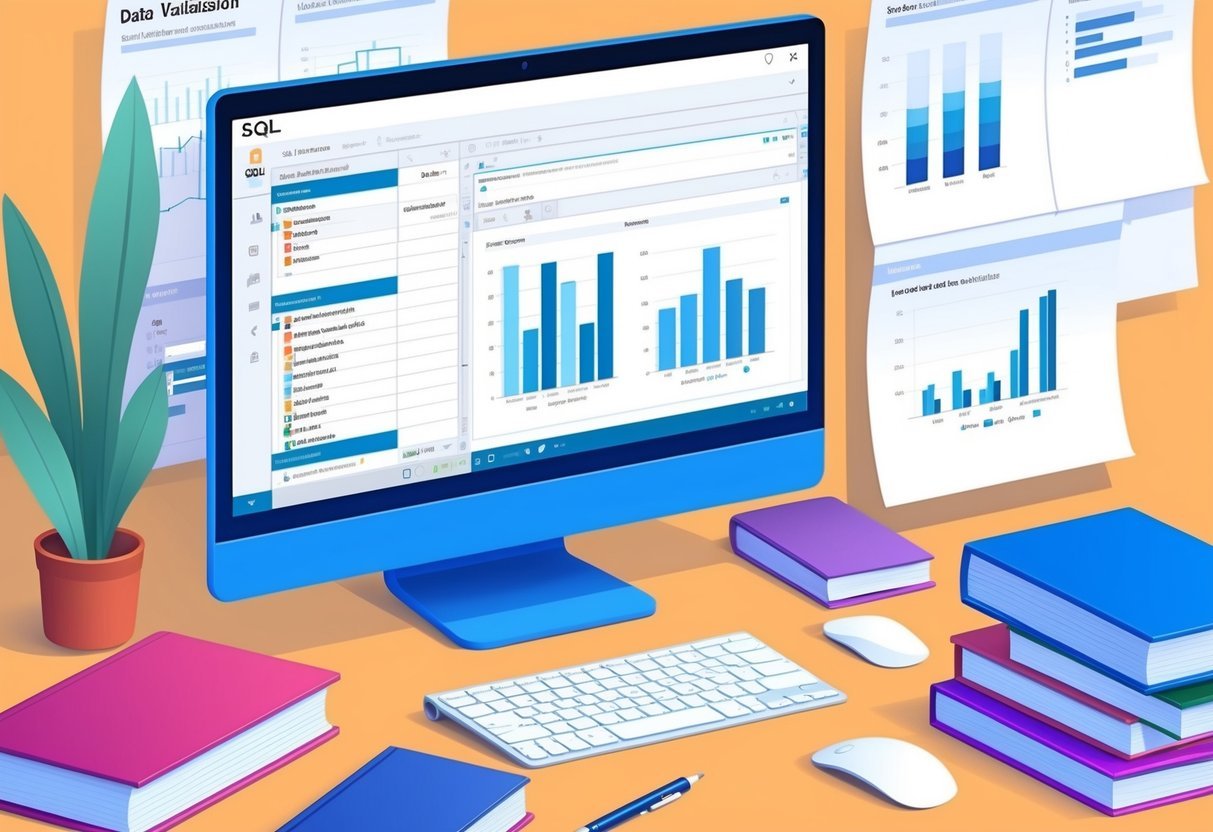
Data Analysis and Visualization

Data analysis and visualization are crucial skills in Python projects, enabling users to draw meaningful insights from data.
Using Python libraries such as Pandas, Seaborn, and Matplotlib can greatly enhance data manipulation and visualization capabilities.
Leveraging Pandas and Seaborn
Pandas is a powerful Python library used for data manipulation and analysis. It allows for efficient data cleaning, transformation, and exploration.
By using Pandas, one can handle large datasets effectively, perform tasks like filtering and grouping, and fill missing data. This makes it a favorite among data analysts.
Seaborn is a library built on top of Matplotlib, offering a high-level interface for drawing attractive and informative statistical graphics. It simplifies the process of creating complex visualizations, such as heatmaps and violin plots.
Seaborn integrates seamlessly with Pandas, facilitating the easy use of datasets directly from data frames. This combination of tools provides a robust framework for conducting exploratory data analysis and producing high-quality visuals.
Crafting Visuals with Matplotlib
Matplotlib is a versatile library used for creating static, animated, and interactive visualizations in Python. It supports a variety of chart types, including line, bar, and scatter plots.
Matplotlib’s flexibility allows users to customize visuals extensively, from adjusting color schemes to employing various plot styles.
Tables can also be implemented with Matplotlib, aiding in the clear presentation of numerical data. This feature, combined with its ability to handle multiple plots on a single canvas, makes it an essential tool for data visualization.
Through Matplotlib, users can transform complex datasets into accessible visual formats, enhancing the communication of data insights.
Machine Learning Foundations

Machine learning focuses on creating systems that can learn and make decisions from data. Central to this are models that process data and algorithms that train these models. Using frameworks like TensorFlow and scikit-learn, these systems aim to tackle complex tasks in data science.
Introduction to Machine Learning Models
Machine learning models are algorithms that allow computers to identify patterns and make predictions. These models can be supervised, unsupervised, or reinforcement-based.
Supervised models use labeled data to learn, while unsupervised models find patterns in data without labels. Reinforcement learning models focus on learning optimal actions through feedback from the environment.
Popular models include decision trees, random forests, and logistic regression, each suited for different tasks. Decision trees help in classification, while random forests build on decision trees for better accuracy. Logistic regression is used for binary classification problems.
Exploring Neural Networks with TensorFlow and scikit-learn
Neural networks are critical in fields like image and speech recognition. They consist of layers of connected nodes, or neurons, that process data.
TensorFlow is a leading library for constructing and training neural networks. It is widely used for its flexibility and scalability in handling large datasets.
Scikit-learn provides tools to implement simpler neural networks. It is user-friendly, making it ideal for beginners diving into data science.
Both libraries offer robust features for building neural networks, from simple models to deep learning architectures. Users can perform tasks such as classification, regression, and clustering with ease.
Advanced Python Projects

Advanced Python projects offer exciting opportunities to apply Python in complex scenarios like creating chatbots using natural language processing, performing sentiment analysis, and designing image recognition systems. These projects can enrich your portfolio and significantly enhance your technical skills.
Creating a Chatbot with Natural Language Processing
Creating a chatbot using natural language processing (NLP) is a valuable way to explore AI. Python libraries such as NLTK, spaCy, and ChatterBot are commonly used for this purpose.
These tools help process language data and generate human-like responses.
Building a chatbot involves training it on a dataset to understand user queries and provide accurate replies.
Users can test the bot by asking various questions to see how well it understands and responds. A well-designed chatbot uses context and intent recognition to improvise conversations, showcasing advanced programming skills and understanding of NLP.
Performing Sentiment Analysis
Sentiment analysis is a technique used to evaluate the emotional tone behind a body of text. It can be particularly useful for tasks like Twitter sentiment analysis, where Python’s NLTK and TextBlob libraries come in handy.
These tools help classify tweets as positive, negative, or neutral by analyzing word patterns. The process involves data preprocessing, tokenization, and sentiment scoring.
Developers can then visualize these results to understand public opinion or business-relevant trends better.
Sentiment analysis projects demonstrate proficiency in handling real-world data and deriving meaningful insights, which is highly valued in data science fields.
Designing an Image Recognition System
An image recognition system identifies objects, people, or patterns in digital images. Python libraries such as OpenCV and TensorFlow power these projects by providing efficient image processing and machine learning tools.
Designers of image recognition systems often start by acquiring labeled datasets to train their models. They then use algorithms to recognize patterns and features within the images.
After training, the system can accurately identify and classify new images. This project is crucial for those interested in computer vision and showcases strong problem-solving ability and technical expertise in using Python for cutting-edge technology applications.
Utilizing APIs and External Data

Incorporating external data and APIs into Python projects can create powerful tools for analyzing and presenting information. This section explores using APIs to create features and employing automation tools for data extraction.
Weather App Integration
Connecting Python with a weather API allows developers to fetch real-time weather data efficiently. This can be done by accessing services like OpenWeatherMap or WeatherAPI, which provide comprehensive weather data through their APIs.
Users can register for an API key and make requests for information such as temperature, humidity, and weather conditions.
Python libraries such as requests help in sending HTTP requests to the API. Once the data is fetched, it can be used to display weather updates in applications.
Building a weather app involves processing this data to show live weather conditions, forecasts, and alerts, making it a practical project for showcasing data processing and API integration skills.
Scraping Data with Selenium
In scenarios where APIs are unavailable, extracting web data through tools like Selenium becomes vital. Selenium is a robust automation tool enabling users to scrape data by automating browser actions. This includes navigating web pages, filling forms, and clicking buttons to access hidden information.
Selenium is particularly useful for dynamic websites that load data via JavaScript. Users can automate interaction with page elements and gather the desired information efficiently.
Setting up a scraping project involves creating a script to control a browser session, making it an excellent way to demonstrate expertise in automating data extraction tasks.
Interactive Web Apps with Python
Python is a powerful tool for creating interactive web applications. These apps provide dynamic interfaces and are essential in modern web development.
One popular framework for building such applications is Dash, which simplifies the process of creating visually appealing and interactive dashboards.
Building with Dash
Dash is a versatile Python framework designed for building interactive web applications. It enables developers to create dynamic websites with ease, using the simplicity of Python.
Dash is particularly well-suited for building data-driven applications thanks to its ability to handle complex interactive features.
Key Features:
- User Interface: Dash allows for the creation of customizable UIs using layouts and components.
- Interactivity: It supports event-driven interactions, making apps responsive to user inputs.
- Seamless Integration: Dash can integrate with other Python libraries, enhancing data visualization and analysis capabilities.
Developers who are familiar with Python can quickly learn to use Dash because it leverages Python’s syntax and structure. This makes it a popular choice for those looking to enhance their web development projects with dynamic, interactive features.
For more in-depth information on getting started with Dash, you can check out these 60+ Python projects for all levels which include experiences across different use cases.
Python Automation Projects
Python is a powerful tool for automation, helping to simplify and expedite repetitive tasks. This skill enhances efficiency in both personal and professional settings through various projects that demonstrate Python’s ability.
Automating Daily Tasks
Automating daily tasks can save a significant amount of time and streamline workflows.
Using Python, one can automate sending emails, scheduling social media posts, or organizing files. For instance, a script to send personalized emails using Python’s smtplib library allows users to reach multiple recipients quickly and efficiently.
Creating scripts to automate data entry in spreadsheets can further reduce manual labor.
Python’s versatility in web scraping can gather data from the web automatically, providing updated information without manual browsing.
These projects not only aid in managing daily routines but also develop valuable programming skills. Python’s extensive libraries and ease of use make it an excellent choice for anyone looking to embrace automation.
Error Handling and Debugging
Error handling is crucial in any coding project. In Python, it involves using try and except blocks. These blocks help manage exceptions smoothly. When an error occurs in the try block, the code in the except block runs, preventing the program from crashing.
Syntax errors often happen when the code doesn’t follow Python’s rules. For instance, missing a colon in an if statement is a common mistake. Fixing these errors requires careful examination of the code structure.
Common Error Types:
- Syntax Errors: Occur when the code isn’t written correctly.
- Logical Errors: Result from incorrect logic in the code.
- Runtime Errors: Happen during program execution.
Debugging helps identify and fix errors in the code. Tools like pdb are useful for stepping through the program to find issues. Python’s built-in functions and methods enhance the debugging process, making it easier to locate errors and fix them effectively.
A comprehensive guide on Python error handling and debugging techniques can be found at Real Python’s Learning Path. This resource dives into exception handling, logging, and more, ideal for developers looking to improve their skills in error management.
Best Practices:
- Use descriptive error messages.
- Log errors for future reference.
- Regularly test and debug to ensure reliable code.
Game Development with Python

Python is a versatile language that enables the creation of both simple and complex games. It is commonly used in game development for tasks ranging from coding small text-based games to developing larger graphic-rich projects. A popular library facilitating game design in Python is Pygame.
Designing Games with Pygame
Pygame is a set of modules designed for writing video games in Python. It provides developers with graphics and sound libraries, enabling the creation of interactive games.
Graphics and Sound Capabilities: Pygame allows for rendering shapes, images, and colors on the screen, along with managing sounds and music.
Game Logic: Building game logic is streamlined with event handling systems. Pygame supports keyboard and mouse events, which are crucial for game interactions.
Using Pygame, developers can create games that are not only engaging but also showcase their skills in their Python projects.
Blockchain and Python
Blockchain technology can be explored using various programming languages, but Python offers simplicity and accessibility. It serves as a great tool for building projects like cryptocurrencies or decentralized applications.
Exploring Blockchain Fundamentals
Blockchain is a digital ledger system used to record transactions across multiple computers. It ensures data integrity through cryptography. A blockchain consists of blocks, each containing a timestamp, transaction data, and a cryptographic hash of the previous block. This structure creates a secure and transparent method of data handling.
Python is popular for blockchain projects due to its readability and extensive libraries. Beginners can start with projects like mini blockchain setup to grasp core concepts. Online resources also offer tutorials that teach how to create a blockchain in Python for practical learning.
Developing a blockchain project, like a simple blockchain-based voting system, helps demonstrate Python’s real-world application. Tackling such projects involves key aspects: block creation, transaction processing, and implementing consensus algorithms. These tasks can be further explored using open-source libraries and community support, providing a hands-on introduction to blockchain technology.
Frequently Asked Questions

Exploring Python portfolio projects can greatly benefit a learner by enhancing practical skills and showcasing their capabilities to potential employers. Understanding how to effectively present these projects is crucial.
What are some good Python projects for a beginner’s portfolio?
A beginner can start with projects like a travel planner, basic data visualizations, or simple web scrapers. These projects help to build skills in data manipulation, web interaction, and user interface design.
How can I showcase my Python projects on GitHub for potential employers?
Creating a GitHub repository for each project is key. Include a detailed README file explaining the project, its purpose, and how to run it. This helps potential employers understand your thought process and technical skills.
What essential elements should be included in a Python project portfolio?
A good portfolio should highlight diverse skills. Include projects that demonstrate proficiency in different areas like data analysis, web development, and automation. Make sure to provide clear descriptions, code snippets, and documentation.
Can building Python projects enhance my learning and understanding of the language?
Working on Python projects allows learners to apply theoretical knowledge in real scenarios, which can deepen their grasp of the language. It also helps in learning how to solve problems and write efficient code.
How do I describe my Python project during a technical interview?
In technical interviews, clearly explain the problem your project addresses, the solution you implemented, and the technologies you used. Discuss challenges faced and your learning outcomes, which show your ability to overcome obstacles and grow from experiences.
Where can I find resources or guides for completing Python portfolio projects?
You can find resources on platforms like DataCamp that offer project ideas and tutorials.
Online coding communities and educational websites also provide valuable insights and guides.