
Overview of Azure Data Studio
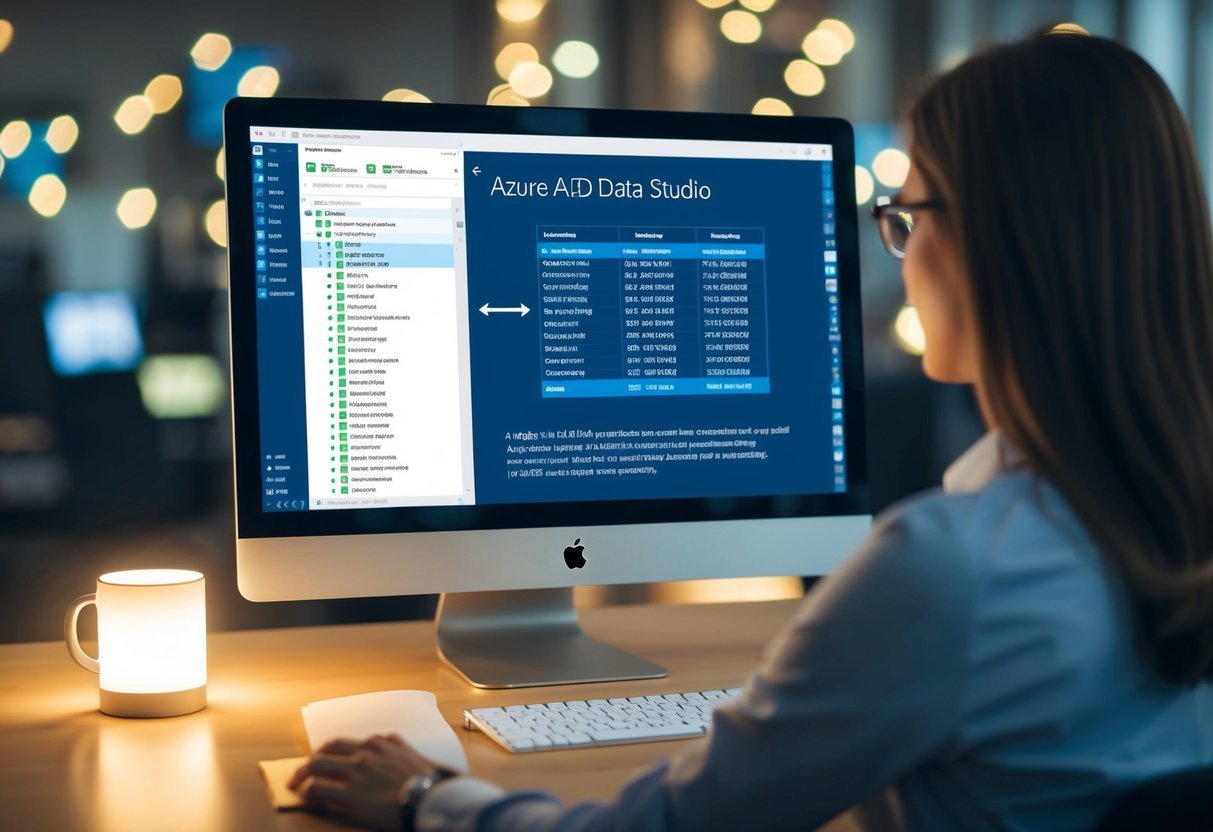
Azure Data Studio (ADS) is a versatile tool tailored for data professionals who manage SQL and other database types.
With a user-friendly interface and smooth integration capabilities, it has become popular among those seeking efficient database management and data analysis solutions.
Key Features
Azure Data Studio offers a range of features designed to streamline database management.
One standout feature is its Table Designer, which allows users to create and manage tables, primary and foreign keys, indexes, and constraints through a graphical user interface. Users can perform these tasks without writing extensive SQL scripts.
The platform supports extensions like Jupyter Notebooks, enabling data professionals to visualize and document their data analysis processes in a single environment.
ADS also incorporates export functionalities for data export to formats such as Excel, CSV, JSON, and XML, as explained by various tutorials available online.
Comparison with SSMS
When comparing Azure Data Studio to SQL Server Management Studio (SSMS), several differences surface.
While SSMS is the traditional choice for comprehensive database management tasks, ADS shines in scenarios that demand more modern and user-friendly interfaces.
ADS supports cross-platform installation, making it suitable for users on Windows, macOS, and Linux, unlike SSMS, which is limited to Windows.
Furthermore, ADS offers a lightweight and fast-startup experience, which appeals to those who prefer a less resource-heavy tool.
Although SSMS boasts more extensive features for in-depth management, Azure Data Studio provides adequate functionality for routine tasks and integrates well with scripts for diverse operations.
Setting Up Azure Data Studio for Export
To export tables effectively in Azure Data Studio, users need to focus on two main areas: installation and configuration of the software, and establishing connections to databases like SQL Server, Azure SQL Database, or Azure SQL Managed Instance.
Installation and Configuration
Azure Data Studio, often referred to as ADS, can be downloaded from Microsoft’s official site.
Installing it is straightforward; a user-friendly installer guides the process.
Steps for Installation:
- Download: Find the installer suitable for your operating system.
- Run Installer: Follow prompts to complete the installation.
- Launch ADS: Open the application and start setting your preferences.
For configuration, familiarize yourself with the settings that influence export tasks.
Popular extensions like the SQL Server Profiler can enhance functionality. Adjust display settings and keyboard shortcuts to personalize the experience.
This customization makes working more efficient, especially when exporting large SQL datasets.
Connecting to Databases
Connecting Azure Data Studio to databases requires a few precise steps.
Users first need a reliable database connection, which could be a local SQL Server or Azure-based options like Azure SQL Database or Azure SQL Managed Instance.
Connection Steps:
- Select Connection Type: Decide if you’re connecting to a local server or a cloud instance.
- Enter Credentials: Input server name, database name, and authentication details.
- Test Connection: Verify that the connection works correctly before proceeding.
- Save Settings: Optionally, save login details for quicker access in future sessions.
These steps are crucial for setting up Azure Data Studio correctly for exporting tables. Proper connections ensure seamless data transactions and are foundational to efficient database management.
Pre-export Considerations
Before exporting tables in Azure Data Studio, ensuring a thorough understanding of data schemas and evaluating the state of indexes and data tier applications helps streamline the process. These steps are crucial for efficient data handling and secure disaster recovery planning.
Understanding Data Schemas
A clear understanding of the database schema is essential prior to exporting tables. This includes the structure of tables, columns, relationships, constraints, and keys.
Awareness of these elements helps avoid errors during export.
Schemas define how data is organized and can affect the export process significantly. For instance, tables with complex relationships may require special handling to maintain data integrity. Recognizing these structural elements ensures a smooth and error-free export.
Proper documentation of the schema also aids in facilitating disaster recovery and maintaining data consistency post-export.
Evaluating Indexes and Data Tier
Evaluating indexes and data-tier applications is another crucial step.
Indexes improve query performance, but they can also affect the export process. It’s important to assess whether existing indexes should be maintained or adjusted before exporting.
Additionally, understanding the structure and needs of a data-tier application can influence export decisions, as these applications include the database schema and objects required by the application.
Evaluating these components ensures the exported data remains efficient and functional. This consideration plays a vital role in minimizing data redundancy and aligning with disaster recovery strategies.
Exporting Data from Tables

Exporting data from tables is a common task when managing databases, and Azure Data Studio offers various methods to facilitate this process. Users can choose from the Export Data Wizard, save data as CSV, Excel, or JSON files, and utilize T-SQL Scripts to customize their export needs.
Using Export Data Wizard
The Export Data Wizard in Azure Data Studio provides a straightforward method for exporting data. This tool guides users through the process of extracting table data with ease.
To use it, users need to select the source table and specify the destination format. The wizard handles tables with multiple columns, allowing users to export specific columns and filter rows based on criteria.
Users can navigate through a spreadsheet-like interface, making it simple to select data. The wizard supports exporting to flat files, such as CSV and Excel, as well as more complex formats like JSON and XML.
This feature is particularly useful for those who require a quick and efficient way to get data out of SQL databases without writing code.
Export as CSV, Excel, and JSON
Saving data as CSV, Excel, and JSON formats is a popular choice for many users.
These formats are widely supported and allow data to be easily shared or imported into other applications.
In Azure Data Studio, exporting data to these formats is straightforward. Users can right-click on a table and select options like “Save as CSV” or “Save as Excel.”
These formats support tabular data with columns and values, making them ideal for spreadsheets. JSON is useful for data interchange, especially when working with web applications.
While CSV and Excel are preferred for their compatibility with spreadsheet programs, JSON is more suited for applications where hierarchical data is needed.
Utilizing T-SQL Scripts
T-SQL Scripts offer a powerful way to export data by providing more control over the export process.
Users can write scripts that execute SELECT statements, allowing precise data manipulation and retrieval.
This approach is essential for those who require advanced data handling or need to automate the export process.
Scripts can include conditions to select specific data ranges or filter out unnecessary columns.
By integrating these scripts within Azure Data Studio, users can streamline exporting tasks and schedule these processes as needed. T-SQL also enables the export of data to flat files and other formats by executing appropriate commands.
Database Export and Backup Strategies

Database export and backup strategies in Azure Data Studio often revolve around creating Bacpac files for exporting data and automating processes using PowerShell scripts. These methods help ensure data integrity and ease of use.
Creating Bacpac and Backup Files
Bacpac files are used to export databases as a logical backup. They contain both the schema and data, making them useful for migrating databases.
Azure Data Studio users can create Bacpac files by utilizing the built-in tools. To do this, they navigate to the desired database, right-click, and choose the export option. This method is efficient and retains the necessary database structure and data.
For those looking to create a simple database backup, Azure Data Studio’s backup utility provides a straightforward approach. This utility is similar to the one found in SQL Server Management Studio.
Users can perform a backup by selecting the Backup option from the context menu after right-clicking on the database. This method allows them to retain a full or partial copy of their database, ensuring it can be restored if needed.
Automation with PowerShell
Automation is key for managing database exports and backups efficiently.
PowerShell is a powerful tool that administrators use to automate these tasks.
Scripts can be written to create regular backups, export data to Bacpac files, or perform other maintenance tasks.
Through PowerShell, users can schedule exports of their databases or automate the generation of Bacpac files.
Advanced Data Export Techniques
Azure Data Studio offers various advanced techniques for exporting data effectively. Users can utilize extensions and powerful storage solutions, making it easier to manage large datasets and database objects. The following techniques highlight crucial methods for enhancing data export processes.
SQL Server Import Extension
The SQL Server Import Extension assists in streamlining the export of data and database objects.
This extension enables users to generate export scripts in SQL or T-SQL and allows for substantial customization and control over exported content.
Utilizing the extension, data can be extracted into formats like CSV, Excel, JSON, or even charts.
Users benefit from its capability to handle complex database objects efficiently. The graphical interface provides a user-friendly experience, empowering even those with limited SQL knowledge to perform exports effectively.
For those seeking more traditional methods alongside modern tools, this extension integrates seamlessly within Azure Data Studio environments.
Exporting to Azure Blob Storage
Exporting data to Azure Blob Storage provides a robust solution for managing large datasets.
Blob Storage offers scalability and security, making it a preferred choice for many businesses.
When using this method, users can export data directly from their SQL databases and store it in Azure’s cloud infrastructure, facilitating easy access and sharing.
This approach also ensures data is safe and compliant with organizational standards.
Users can schedule automated exports or perform them manually to suit their needs. The integration with Azure services simplifies complex tasks, allowing for smoother database management and optimized performance.
Azure Blob Storage supports diverse data formats, making it a versatile solution suitable for different project requirements.
Frequently Asked Questions

Azure Data Studio provides several options for exporting tables and data. These range from exporting tables to CSV files to exporting complete databases as SQL files. Each method involves different steps and uses some unique features of the software.
How can I export a table from Azure Data Studio to a CSV file?
To export a table to a CSV file, users can run a query to select the data they want. After executing the query, right-click on the result set and choose the “Save As CSV” option. This creates a CSV file with the selected data.
What steps are involved in exporting a database schema using Azure Data Studio?
While Azure Data Studio doesn’t directly support exporting a schema, users can utilize the SQL Server Management Studio (SSMS) or manual scripting for this task.
Alternatively, they can use Azure Data Studio as a lightweight query editor and transfer scripts to another tool for exporting.
Is it possible to export a complete database to a SQL file in Azure Data Studio, and if so, how?
Users can export a database to a SQL file by using the built-in export feature.
Detailed instructions on exporting databases can be found under appropriate tutorials or guides on the Azure Data Studio interface. This process requires running the correct set of SQL commands manually related article.
Can Azure Data Studio be used to export table data as INSERT statements?
Yes, Azure Data Studio can export data as INSERT statements.
This feature is available through the SQL Server Management Studio (SSMS) scripting options since Azure Data Studio doesn’t currently offer direct support for this functionality.
How do I export and import CSV files in Azure Data Studio?
For exporting, run a query on the desired data and right-click on the result to save it as a CSV file.
To import, use the “import wizard” or a similarly appropriate tool like SQL Server Import and Export Wizard. This will allow the CSV to load into the table.
What is the process for exporting a table to PDF format in Azure Data Studio?
Currently, Azure Data Studio does not have a direct method for exporting tables to PDF.
An alternative is to export the table to a CSV or Excel format first, then convert that file to a PDF using another software tool.